A LEGO baseplate is a thin, flat plate with studs on top and a smooth underside. Unlike regular LEGO plates (which are three plates thick and have tubes underneath for clutch), baseplates are just one plate thick — essentially a sheet of ABS plastic with studs molded on top. They're designed to be the foundation of a build, the ground plane that everything else attaches to.
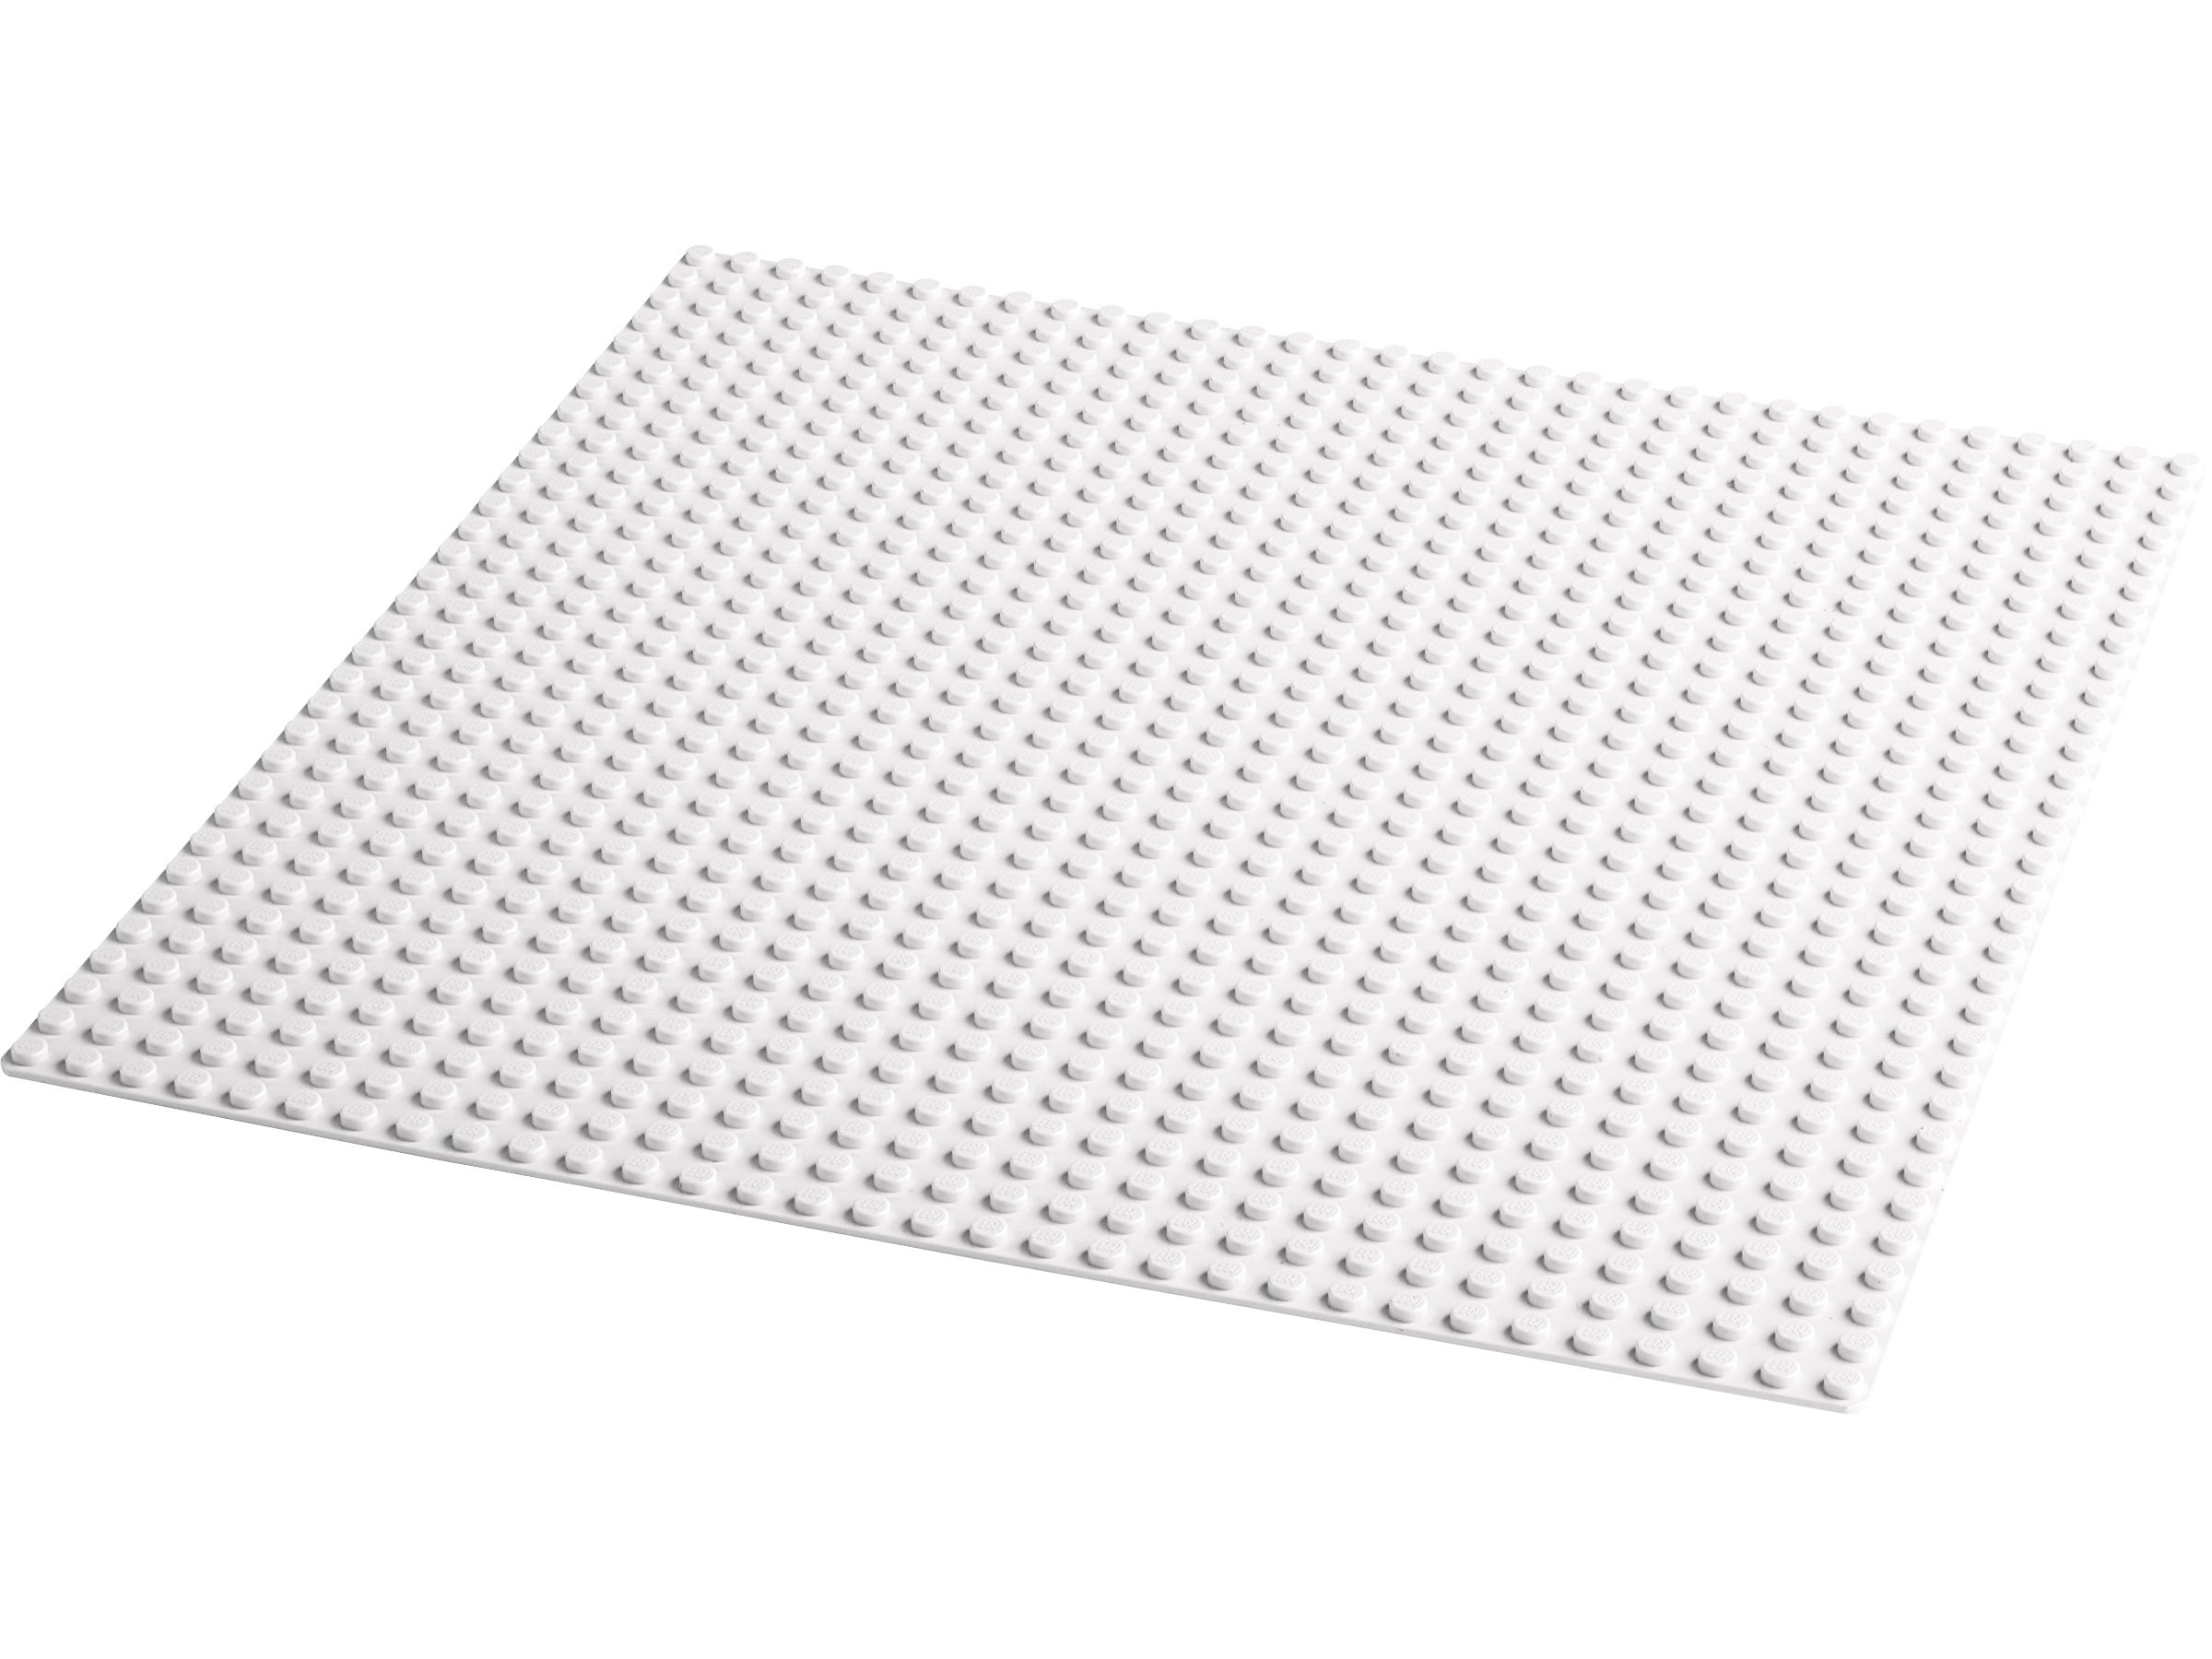
The standard baseplate is 32 studs by 32 studs, which translates to roughly 10 inches (25 cm) square. LEGO currently sells baseplates in four colors: green (#11023), blue (#11025), white (#11026), and gray (#11024). Green represents grass or parkland, blue is water, white is snow or arctic, and gray is pavement or concrete. Each one costs under $10, making them one of the most affordable elements LEGO sells for the utility they provide.
Despite their simplicity, baseplates solve several critical problems. They anchor builds to a surface so they don't slide around. They define the footprint of a model. They establish a consistent ground plane across multiple builds. And most importantly for this article, they form the basis of standardized modular display systems.
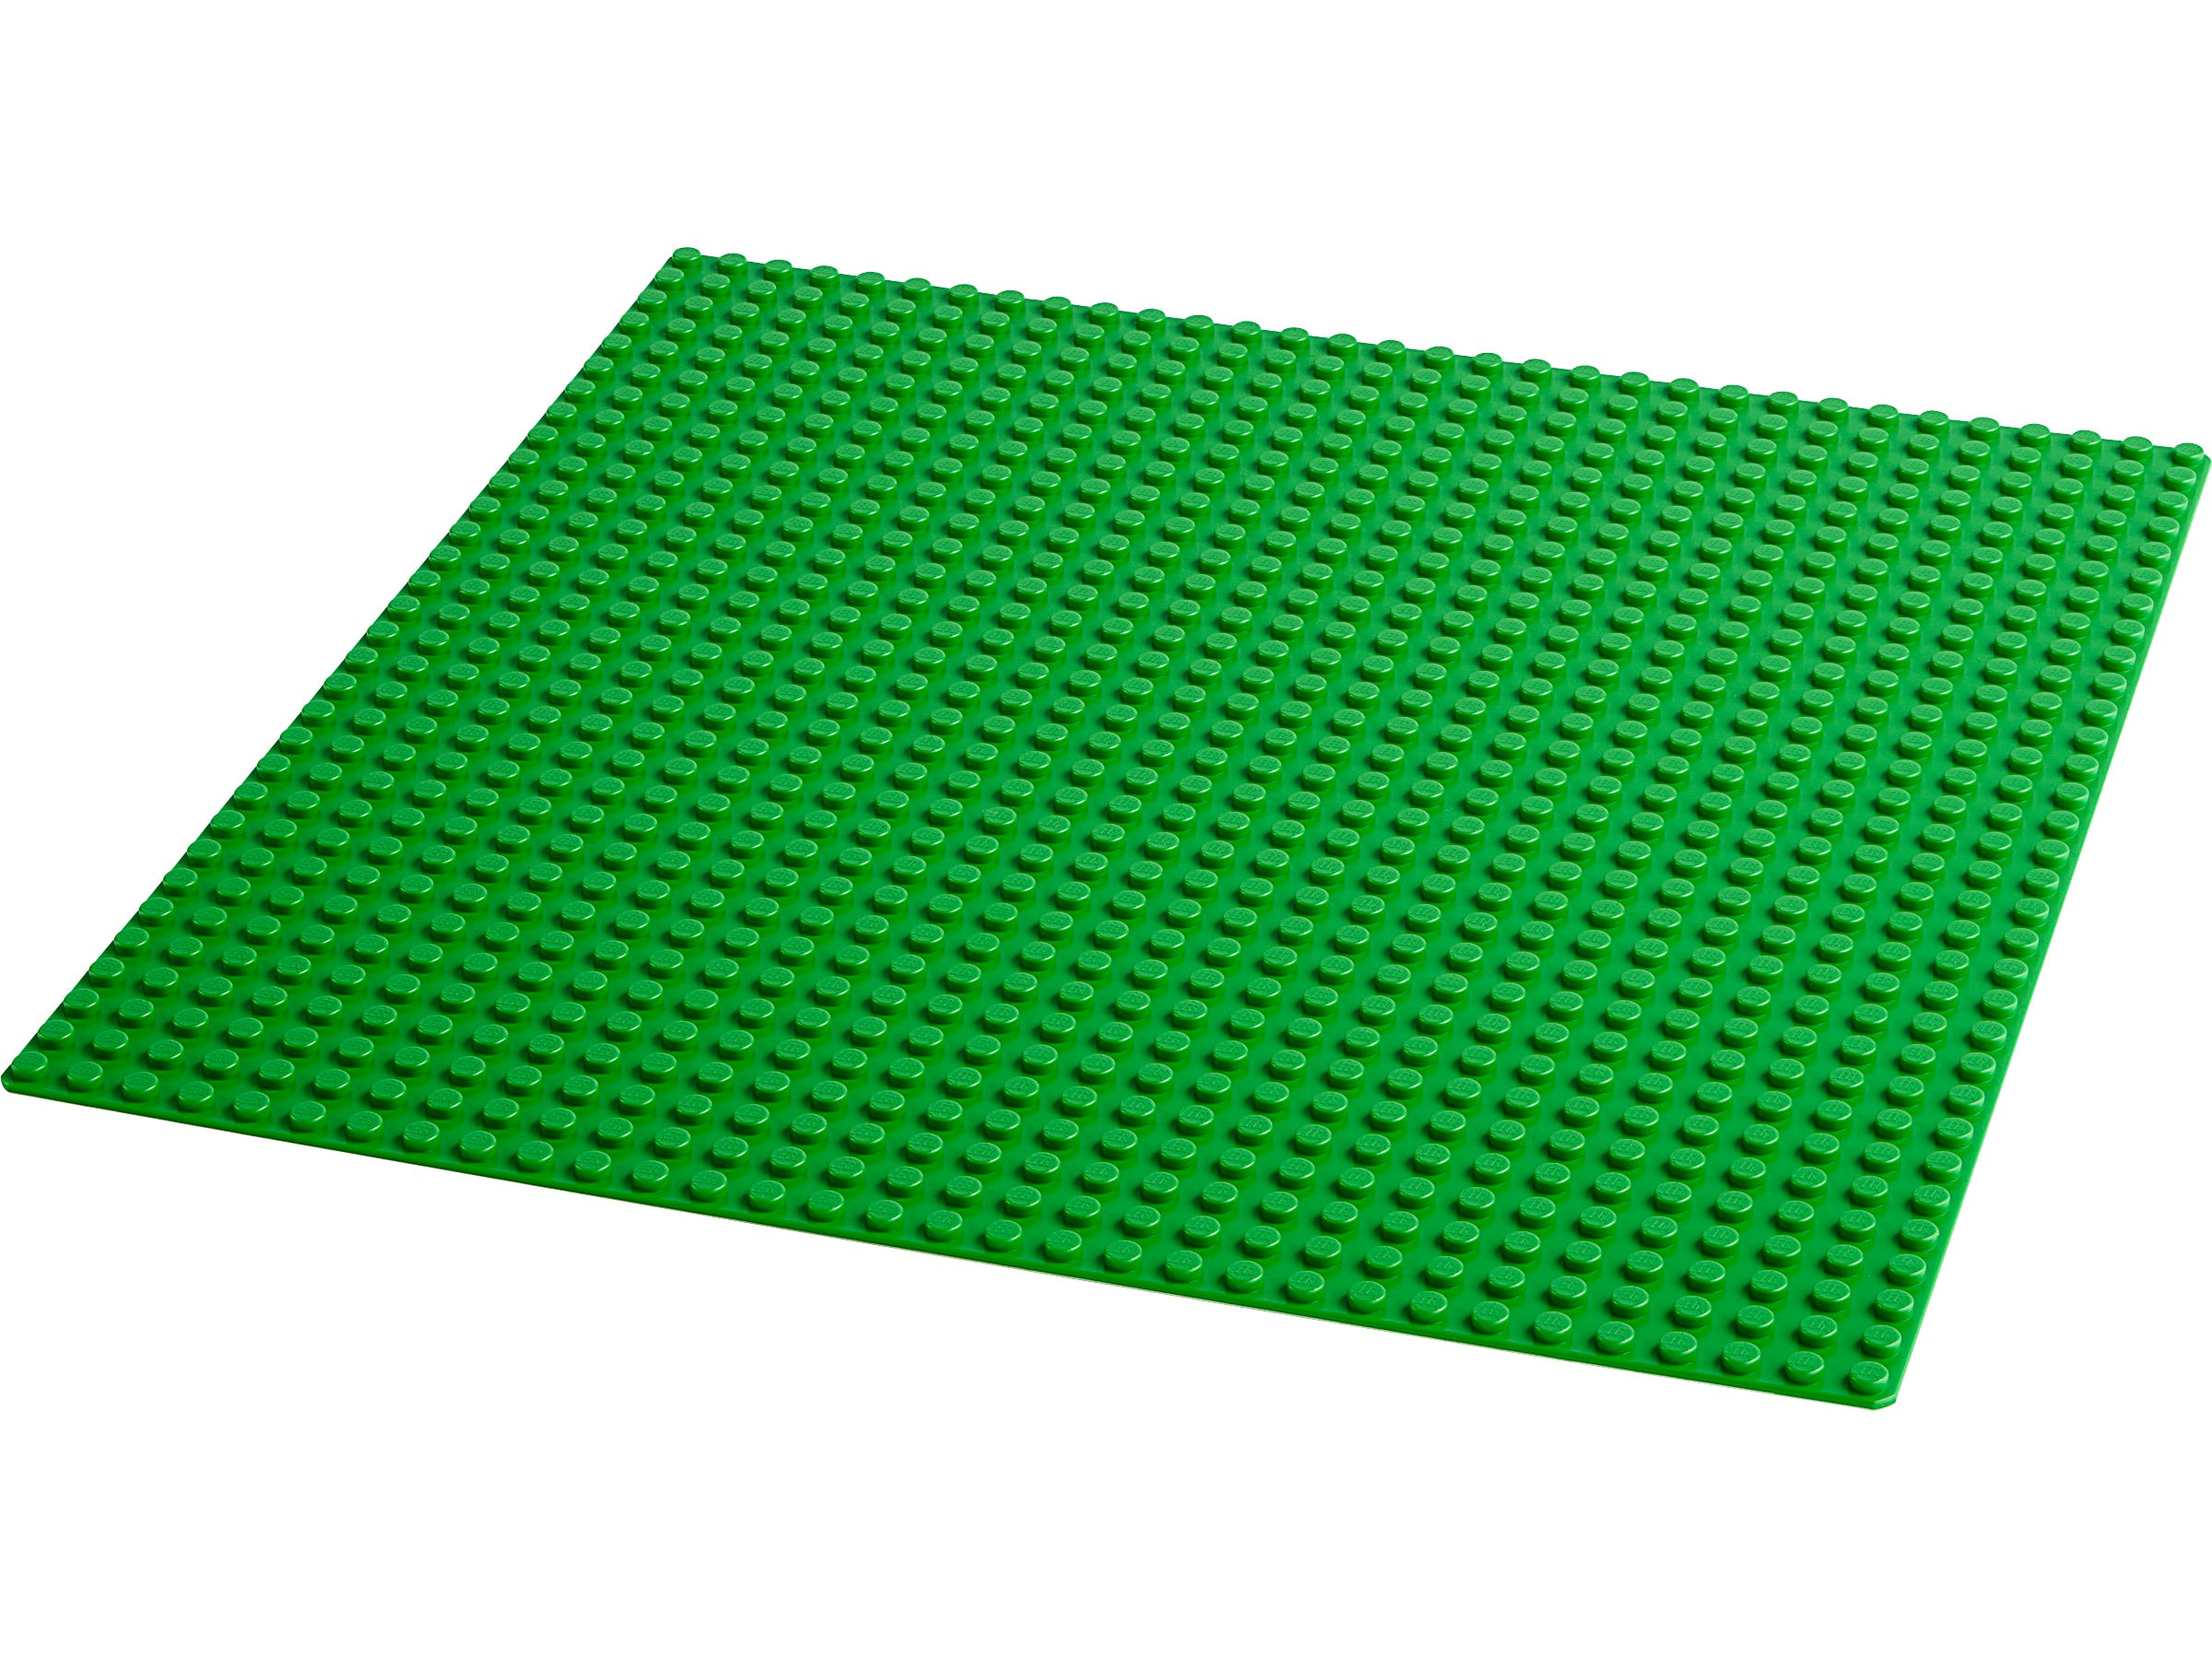

At the most basic level, baseplates are the ground beneath your build. Drop a LEGO City house on a green baseplate and you've got a yard. Put a lighthouse on a blue one and you've got an island. Slide a gray one under a modular building and you've got a sidewalk. The color of the baseplate sets the environment without requiring a single additional piece.
But experienced builders use baseplates for much more than simple ground cover:
- Display anchoring: Baseplates keep models in place on shelves, desks, and display cases. Without one, a modular building on a smooth surface is one accidental bump away from disaster.
- Terrain building: Stack plates, bricks, and slopes on top of baseplates to create hills, cliffs, riverbanks, and uneven ground. The baseplate gives you a consistent foundation to build terrain upward from.
- City layouts: Multiple baseplates placed side by side create a city grid. LEGO's older road baseplates had printed roads; today, builders create custom roads using tiles and plates on standard baseplates.
- MOC (My Own Creation) foundations: Every custom build needs a footprint, and baseplates provide it. They're the first element placed when designing a MOC, because they define the maximum size of the build.
- Train layouts: LEGO train enthusiasts use baseplates to create stations, yards, and scenic sections along their track layouts.
The best baseplate is the one you forget is there. It should disappear under your build, providing structure without drawing attention to itself. That's the mark of a good foundation — invisible support.
MILS stands for Modular Integrated Landscaping System. It's a community-developed standard that defines how to build baseplates into modular, interchangeable landscape sections. Think of it as a building code for LEGO terrain — a set of rules that ensures any MILS-compatible plate can connect to any other MILS-compatible plate, regardless of who built it.
The core idea is simple: instead of building directly on a thin baseplate, you build a raised plate assembly with Technic pins on the edges. The Technic pins lock adjacent plates together, creating a seamless, rigid connection between modules. Each module is the same size (based on 32×32 or 16×32 baseplates), so they tile perfectly.
MILS was originally developed for military diorama builders in the early 2000s, but it's since been adopted by city builders, castle builders, train layout designers, and anyone who wants to create large-scale displays from interchangeable sections. The genius of the system is that it separates the landscape from the buildings — you can rearrange your city layout without rebuilding a single structure.
Building a basic MILS plate requires a standard 32×32 baseplate, some 1×X bricks and plates, Technic bricks with pin holes, and Technic half-pins (or full pins). Here's the process:
- Start with a 32×32 baseplate. This is your foundation. Green for grass terrain, gray for urban, blue for water features.
- Build a border frame. Place 1×4 or 1×6 bricks around the entire perimeter of the baseplate, one brick high. This creates a raised edge that adds rigidity and defines the module boundary.
- Add Technic bricks at connection points. At each edge, replace some of the border bricks with 1×2 Technic bricks (the ones with a single pin hole). Space them evenly — typically every 8 studs along each edge. These are your connection points.
- Insert Technic half-pins. Push Technic half-pins (part #4274) into the holes so they protrude outward from the edge of the module. When two modules are placed side by side, the pins from one module slot into the Technic bricks of the adjacent module, locking them together.
- Fill the interior. Build your terrain on top of the border frame. Use plates to create a flat surface, or stack bricks and slopes to create elevation changes, rivers, paths, or rocky ground. The interior can be anything — the MILS standard only governs the edges.
- Cap with tiles or plates. Cover the top surface with tiles for a finished look, or leave studs exposed if you want to attach buildings, trees, fences, or other elements on top.
32×32
32×32
32×32
32×32
LEGO's official Modular Building series (Assembly Square, Corner Garage, Boutique Hotel, etc.) uses a 32×32 footprint — exactly one standard baseplate. This is not a coincidence. The 32-stud module is the de facto standard for display-scale buildings, and MILS was designed around it.
The connection between MILS and Modular Buildings is where things get interesting for display builders. By building MILS-compatible base plates, you can:
- Create sidewalks and streets that connect seamlessly between buildings. Instead of each modular sitting on its own baseplate with awkward gaps, MILS plates create continuous streetscapes.
- Add green spaces, parks, and plazas between buildings. A MILS park module fits right into the grid alongside your Modular Buildings.
- Rearrange your layout without rebuilding. Want to move the Bookshop next to the Police Station? Just swap the MILS modules. The buildings lift off, the plates rearrange, and the buildings go back down.
- Transport sections independently. For convention displays or photo setups, each MILS module is a self-contained unit that can be carried, stored, and connected on-site.
The Modular Building series was designed for individual display. MILS turns it into a system. One is a collection of buildings; the other is a city.
The basic MILS plate described above is the starting point, not the destination. Experienced builders customize their MILS modules extensively. Here are the most useful variations:
Half-modules: For narrower sections (sidewalks, alleys, river banks), use 16×32 half-baseplates. These follow the same Technic-pin connection standard but give you more layout flexibility than full 32×32 modules.
Corner solutions: Corner modules need connection points on two adjacent edges instead of one. Plan your Technic brick placement accordingly — you'll need pins on both the north and east edges (or south and west, depending on orientation).
Underground access: Some builders create MILS modules with removable top sections that reveal basements, sewers, or subway tunnels underneath. The MILS frame becomes a box rather than just a plate, with the terrain on top as a lid.
A basic MILS plate for a flat grass module requires surprisingly few parts beyond the baseplate itself:
The border bricks and Technic pieces are widely available on BrickLink for pennies each. For a four-module starter layout, you're looking at roughly $30-40 in baseplates plus $15-20 in border and connection parts. That's a complete, expandable landscape system for under $60 — less than the cost of a single Modular Building set.
Every builder has boxes of specialty pieces, rare colors, and premium sets. But the element that determines whether your collection looks like a curated display or a pile of separate models is the baseplate. It's the connective tissue. It's the urban planning layer. It's the thing that turns "I have some LEGO sets" into "I have a LEGO city."
MILS takes that principle and formalizes it. By spending a few dollars on baseplates and a handful of Technic bricks, you get a system that scales infinitely, rearranges instantly, and transports safely. Whether you're building a medieval castle on a hillside, a Star Wars outpost on a desert plain, or a Modular Building street in a modern city, MILS gives you the foundation to do it right.
Start with four green baseplates. Build the MILS border frames. Place your favorite sets on top. Then stand back and notice the difference — it's not a shelf of separate models anymore. It's a world.